Plone Custom Widget Macro Thingie
Summary
This tutorial is my attempt to modify the edit mode of my content types in Plone Cms. I do this by modifying the macro of the widget of the field of the archetypes content type.
Short Background
There are many way of doing this, here I only touch upon the Plone Custom Widget Macro Thingie's.
More info on this and related areas are found in
- A part of the still relevant but very big tutorial by Raphael Ritz: [1]
- More info on base view and edit in a now outdated tutorial by Peter Simmons: [2]
You can download this tutorial in two version:
- [3] - the content type I start with. It is really not fancy or anything but this is what I start with. It is pretty much My First Minimal Plone Content Type.
- [4] - the final thing.
Introducing the content type we work with
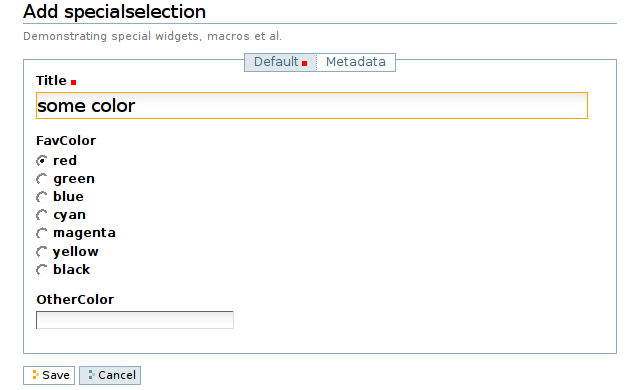
It has a very simple schema - we want to be able to select one of a number of colors or write in a separate field the name of some exotic color:
colors = ['red', 'green', 'blue', 'cyan', 'magenta', 'yellow', 'black']
schema = BaseSchema.copy() + Schema((
    StringField('FavColor',
        vocabulary = colors,
        default = colors[2],
        widget = SelectionWidget(format = 'radio', ),
        ),
    StringField('OtherColor', ),
    ))
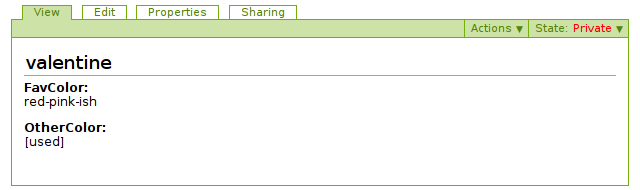
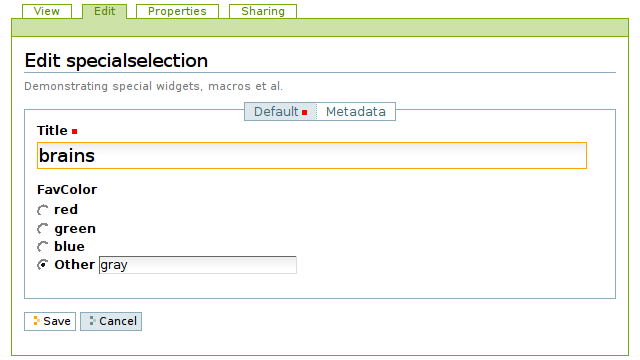
Creating content of this type will look something like this:
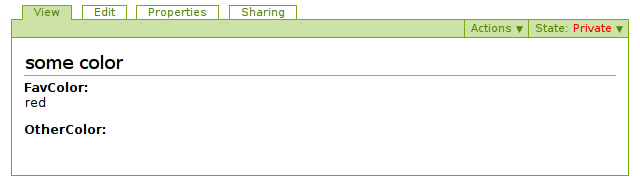
Viewing it is really not very fancy either:
How to modify the Widget Macro Thingie
Before we can modify it: some copy-paste-programming
Modifying the Widget Macro Thingie is not as hard as you first might think - but on the other hand it is not very intuitive either (like everything else in the Plone world).
- Register a skins-folder like we do in Plone Archetypes View Template Modifications
- Copy Paste some of the built-in macros for the widget you want. In this case we copy the file Archetypes/skins/archetypes/widgets/selection.pt (might be located in your products folder) into products/specialselection/skins/specialselection/special.pt
- Tell the field in the schema that you use a particular widget and tell that widget that you want to use a particular macro (see schema below).
- Modify the macros in the widget page template file.
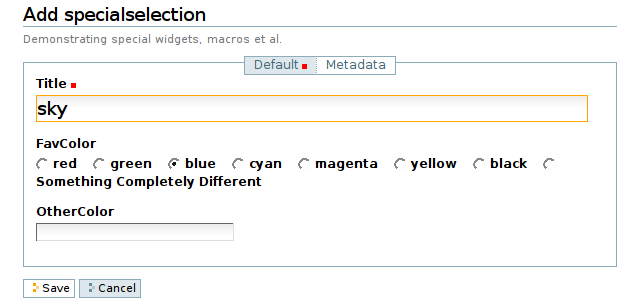
Out previously very simple schema is still pretty simple:
colors = ['red', 'green', 'blue',
          'cyan', 'magenta', 'yellow', 'black',
          'Something Completely Different']

schema = BaseSchema.copy() + Schema((
    StringField('FavColor',
        vocabulary = colors,
        default = colors[2],
        widget = SelectionWidget(
            format = 'radio',
            macro = 'special',
            ),
        ),
    StringField('OtherColor',
        widget = StringWidget(
            macro = 'magic',
            ),
        ),
    ))
As I hope you have figured out by now I have also copied the string.pt-file as described in the steps above - that one I copied into magic.
copy-paste-modify-programming closes the circle
As you can see in skins/specialselection/special.pt this is only metal/tal logic to build part of a form. I did some minor changes - including removing the extremely annoying br-tag.
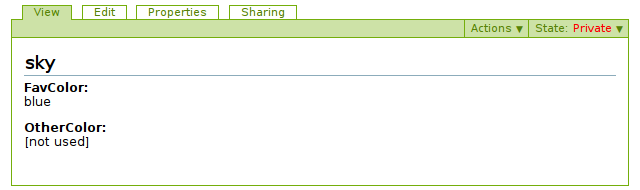
I also wanted to decrease the importance of the OtherColor-field by inserting some pretty ugly logic that lets the viewer know if it is in use or not.
Modifying my content type now looks like this:
And looking at it something like this:
Or like this if the last radio button is pushed:
Making your own widget class
My colleague (Raphael Ritz) hinted me that there is already a widget very similar to what I wanted in the ATExtensions bundle that he wrote some time ago (get it from plone.org: [5]).
It did not exactly do what I wanted but I took it as a starting point to learning how you make your own widget class.
My specialselection package now contains these files:
./README.txt
./__init__.py
./combo.py
./config.py
./specialselection.py
./Extensions/Install.py
./skins/specialselection/combo_widget.pt
Where the new and fancy stuff is in the combo.py-file and the pt-file.
The principal contents of the combo.py is:
from [...] import [...]

class ComboWidget(SelectionWidget):
    [...]

    def process_form( [...] ):
        [...]
        value = form.get( [...] )
        [...]
        return value, {}

InitializeClass(ComboWidget)

registerWidget(ComboWidget, [...] )
As you can see there is a class inheriting from the selection widget class that overrides the method process_form. This file also registers a widget so there is no need for XML/ZCML, nice.
I have modified the page template of the widget slightly and removed everything that is not related to the radio buttons (my plan is to make a more generic path and perhaps check it into the collective once Raphael has looked at it).
Creating the content type now looks like this:
You can download this version here: [6]
Contributing to the Free Software Community
When writing this this tutorial Raphael and I agreed that I should send a patch to the combo-widget class. I tried to upgrade the class even more to get it even better and then I sent him a patch - hopefully that will bring the behavior I missed into the official ATExtensions product. That way I help someone else get better software and then they might help me get better software - ah software communism at its best [:)]-|--<
This page belongs in Plone Cms.
This page belongs in Kategori Programmering.